
My Anjanath Armor from Monster Hunter World AKA Rivet Hell - The Build Breakdown
I’ve been wanting to cosplay from MHW for a long time. Every costume design comes with it’s own challenges and they’re so recognizable and many esteemed armor builders have tackled a Monster Hunter build and after finally finishing the game with friends I was inspired to create this costume. I decided on the Anja armor because to me Anjanath is a big puppy and it hurt my soul to have to kill them in the game. After the required quests were over, I tried to only capture them because I literally could not take the limping that Anja does when they’re low on health. I really loved the look of the β+ armor so thus it became the outfit I would create.

β+ Anjanath armor in Monster Hunter World
The first thing I did was realize to my horror and delight that the underskirt and top were actually chainmail. I’ve never actually made chainmail from scratch so what I decided to do was get a very cheap aluminum chainmail shirt meant for a large man on Amazon (cheap is an understatement, these rings are NOT high quality) and then Frankenstein parts together to make the skirt, the top and all arm and leg pieces. I still had to do a lot of disassembling and reassembling and I gave myself blisters so while it might not have been from scratch it was still laborious in other ways.

the finished (sans paint) bottom half of the costume
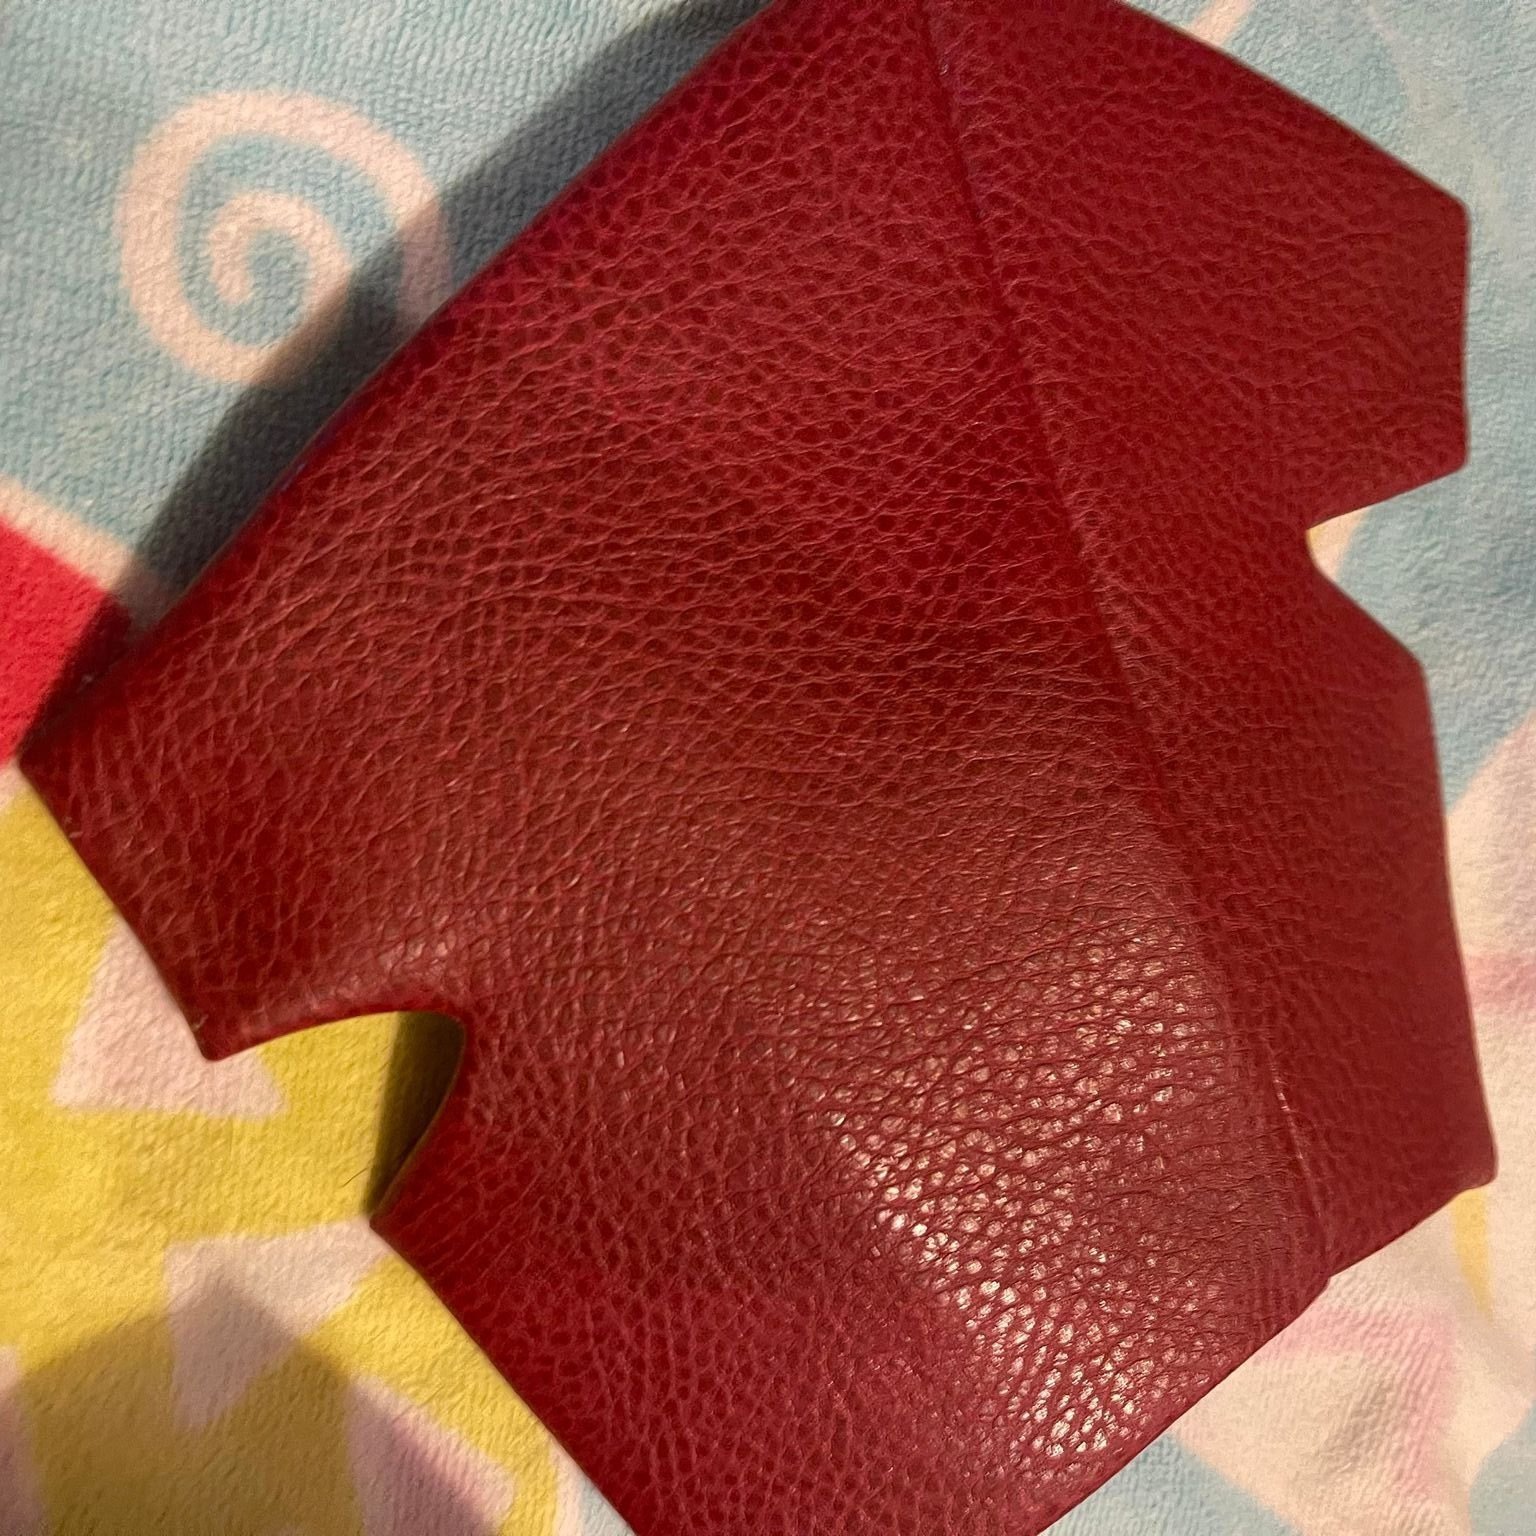
next I started on the lower half of the costume! I used a red pleather that had a natural leather texture to it, black long shaggy fur and Yaya Han’s brown distressed pleather. I also used two different shades of dark brown/black pleather for all the belts and details. This was also the first cosplay I’ve ever done real rivets for! I should really go back and count how many there are because it’s an outrageous number. Everything on this costume has rivets. The cape? Rivets. Skirt? Rivets. Shoes? Rivets. Sleeves? Rivets. I joked with my friends whenever they asked how the costume was coming that I was in rivet hell.
I really like the boot covers I did for this costume, although I need to secure the Velcro a bit better before I wear this again, because I didn’t have time before Katsucon. There were 4 belts on one shoe and two on the other. I made the red thigh high and then the brown one. I made the little cross out of pleather, added the rivets and then used a needle and embroidery thread for the stitching. I made the dagger thigh holster as well. The daggers are made of foam and aren’t meant to be taken out so I glued and sewed them into the costume. They’re honestly only painted on the tops anyway.
The skirt was fairly simply + the weird brown belt because if there’s anything this costume isn’t lacking in besides rivets, it’s belts. With these done the bottom half was nearly finished. I still had another belt to make, and you may notice that I decided not to do the swords that hang off of the back of the skirt. I didn’t see how this could be comfortable for long periods of wear + due to time constraints i decided the costume was complicated and cool looking sans swords.

The finished top half + paint
Next I worked on the top half of the cosplay. I made a foam base for the breastplate and covered it in the fabric. I made foam bracers, and covered those in fabric as well. I made another set of daggers for my arm, and then hand sculpted a bunch of teeth out of clay. the capelet was fairly easy, just put two triangles together and added stuffing pouch to the top to give it some bulk. I added beading to the bracer, and to the cape, as well as made a necklace and made some strands to put into the wig. Last but not least I made the longer cape out of a mustard yellow fabric and airbrushed it with a zebra stripe pattern and attached it to the fur capelet. I think my saving grace for this capelet is the little hooks I added underneath that hook into the chainmail shirt to keep it in place. This is not the most comfy to wear because the fur is hot and there are a million elements to this costume to keep straight so that can get tiring but man do I feel cool.

I wanted to talk a little bit about the painting method I used for this. i started by shading the tops and bottoms of each piece, then adding slightly pink highlights in the center, then added the scale like pattern. I freehanded this because I wanted everything to look organic and imperfect. I felt that if I used a decal, it may look to uniform which wasn’t really what I wanted.


With the costume finished, I could move on to the Anja Blades. I started with very thick 10mm EVA foam and layered it, with a cutout in the middles for the PVC rod. I dremeled each sword for hours and then added all of the spikes, which were made out of EVA foam if they were bigger and foam clay if they were smaller. I used foam clay to add details, and the used a soldering iron to add all of the lines on the blades. During winter months when having normal temperature outside is impossible, I have loved using Flex Bond as it can be applied in thinned coats with a brush. I used 3 coats of this, and then used my airbrush to paint these! After a quick sealant coat they were done! I styled a wig from Arda and the costume was complete.


The photos are all by Amie Photos who is one of my favorite cosplay photographers and you’ll recognize her style if you’ve followed my work for any amount of time because I shoot with Amie literally every chance I get. I really love how this cosplay turned out and I can’t wait to improve upon it further. Maybe I’ll compete with it in the future if I get the chance.